Kodak EKTAGRAPHIC III User Manual
Browse online or download User Manual for Projectors Kodak EKTAGRAPHIC III. Kodak EKTAGRAPHIC III User's Manual
- Page / 38
- Table of contents
- TROUBLESHOOTING
- BOOKMARKS
- EKTAGRAPHIC III 1
- Slide Projectors 1
- Important Safety Instructions 2
- Save These Instructions 2
- Congratulations! 4
- Contents 5
- Overview 6
- Introduction 7
- Models A 9
- AMT and ATS 9
- Loading the Slide Tray 10
- Front-Screen 11
- Projection 11
- Rear-Screen 12
- With a Dissolve 12
- Removing the Tray 13
- Projecting Your Slides 14
- (Models AMT & ATS 16
- Standby Light 17
- (Model E Plus only) 17
- Special-Application 17
- Receptacle 17
- Important 18
- Selecting Slide 18
- Projection Lenses 18
- Choosing a Curved 19
- Lens Focal Length/ 19
- Projector Distance 19
- Operation 20
- Editing Your Presentation 21
- Clearing a Gate Jam 22
- Using the Built-In Viewer 23
- (Model ATS Only) 23
- Using a Dissolve Control 24
- Shutdown 24
- Maintenance 25
- Changing the Projection Lamp 26
- Reassembling the 29
- Lamp Module 29
- Troubleshooting 31
- Warranty 33
- How to Obtain Service 34
- Appendix A 35
- PRESENTATION TECHNOLOGIES 38
Summary of Contents
Operating ManualPRESENTATION TECHNOLOGIESKODAKEKTAGRAPHIC IIISlide Projectors
6 KODAK EKTAGRAPHIC III Slide ProjectorOperationLoading the Slide TrayA KODAK EKTAGRAPHIC Universal Slide Tray is designed to hold up to80 slides. Be
KODAK EKTAGRAPHIC III Slide Projector 7OperationFront-ScreenProjectionRemove the lock ring by turning it counterclockwise and lifting it off.Check eac
8 KODAK EKTAGRAPHIC III Slide ProjectorOperationReplace the lock ring by turning it clockwise until it is secureRear-ScreenProjectionYou can easily ad
KODAK EKTAGRAPHIC III Slide Projector 9OperationTray Place the loaded slide tray on the projector. Align the tray index bar with thegate index. The tr
10 KODAK EKTAGRAPHIC III Slide ProjectorOperationProjecting Your SlidesLens To insert a lens, push the focus knob up and position the lens gear teeth
KODAK EKTAGRAPHIC III Slide Projector 11OperationForward andReversePress the forward button on the projector or the remote control to project thefirst
12 KODAK EKTAGRAPHIC III Slide ProjectorOperationScreen Image Use the elevating foot to horizontally center the projected image on thescreen. To relea
KODAK EKTAGRAPHIC III Slide Projector 13OperationReading Light To illuminate a small area for reading, lift the reading light cover while theprojector
14 KODAK EKTAGRAPHIC III Slide ProjectorOperationImportantAll equipment, cables, and connectors used with the special-applicationreceptacle must be as
KODAK EKTAGRAPHIC III Slide Projector 15OperationChoosing a Curved-or Flat-Field LensThe lens you select depends on how you use your projector and wha
Important Safety InstructionsWhen using your projector, always follow basic safety precautions:1. Read and understand all instructions before using th
16 KODAK EKTAGRAPHIC III Slide ProjectorOperationLD75 mm 13.3’100 mm 17.7’125 mm 22.2’150 mm 26.6’175 mm 31.0’200 mm 35.4’
KODAK EKTAGRAPHIC III Slide Projector 17OperationEditing Your PresentationRemoving theLock RingTo add or remove slides in the tray, you must first rem
18 KODAK EKTAGRAPHIC III Slide ProjectorOperationClearing a Gate JamTo remove a defective slide or foreign object stuck in the projector gate, youneed
KODAK EKTAGRAPHIC III Slide Projector 19OperationUsing the Built-In Viewer(Model ATS Only)ImportantBefore opening the viewer, you must remove the proj
20 KODAK EKTAGRAPHIC III Slide ProjectorOperationReinserting theLensTo reinsert the lens, push the focus knob up and position the lens gear teethon th
KODAK EKTAGRAPHIC III Slide Projector 21MaintenanceTo ensure a long life and trouble-free operation for your projector:• Allow the air to flow freely
22 KODAK EKTAGRAPHIC III Slide ProjectorMaintenanceChanging the Projection LampSlide the power switch to Off and unplug the projector.Allow the projec
KODAK EKTAGRAPHIC III Slide Projector 23MaintenanceCleaning the Condenser, Heat-Absorbing Glass, andMirrorTo clean the condenser, heat-absorbing glass
24 KODAK EKTAGRAPHIC III Slide ProjectorMaintenanceCondenser Lens You can clean the condenser lens in place, or by pulling it out. Wear glovesto preve
KODAK EKTAGRAPHIC III Slide Projector 25MaintenanceReassembling theLamp ModuleTo reassemble the lamp module, you will need to align and insert each ta
Operating ManualKODAKEKTAGRAPHIC IIISlide Projectors
26 KODAK EKTAGRAPHIC III Slide ProjectorMaintenanceMirror To clean the mirror, invert the lamp module to reach the mirror. Gently cleanthe mirror with
KODAK EKTAGRAPHIC III Slide Projector 27TroubleshootingConsult this guide before calling for service.PROBLEM CAUSE CORRECTIONProjector does not operat
28 KODAK EKTAGRAPHIC III Slide ProjectorTroubleshootingSlide fails to drop into projectionpositionTray base plate not properly indexed Rotate the tray
KODAK EKTAGRAPHIC III Slide Projector 29WarrantyKodak warrants this KODAK EKTAGRAPHIC Slide Projector to functionproperly for four years from the date
30 KODAK EKTAGRAPHIC III Slide ProjectorHow to Obtain ServiceAssistance U.S.: 1-800-242-2424Canada: 1-800-465-6325www.kodak.com/go/projectorsTo obtain
KODAK EKTAGRAPHIC III Slide Projector 31Appendix ASpecial-Application Receptacle Identification ChartContacts Function Description1 & 3 Zero-Positi
Part No. 5B905 12/98 Revision ©EastmanKodak Company Printed In U.S.A.PRESENTATION TECHNOLOGIESPresentation TechnologiesEASTMAN KODKCOMPANYRochester, N
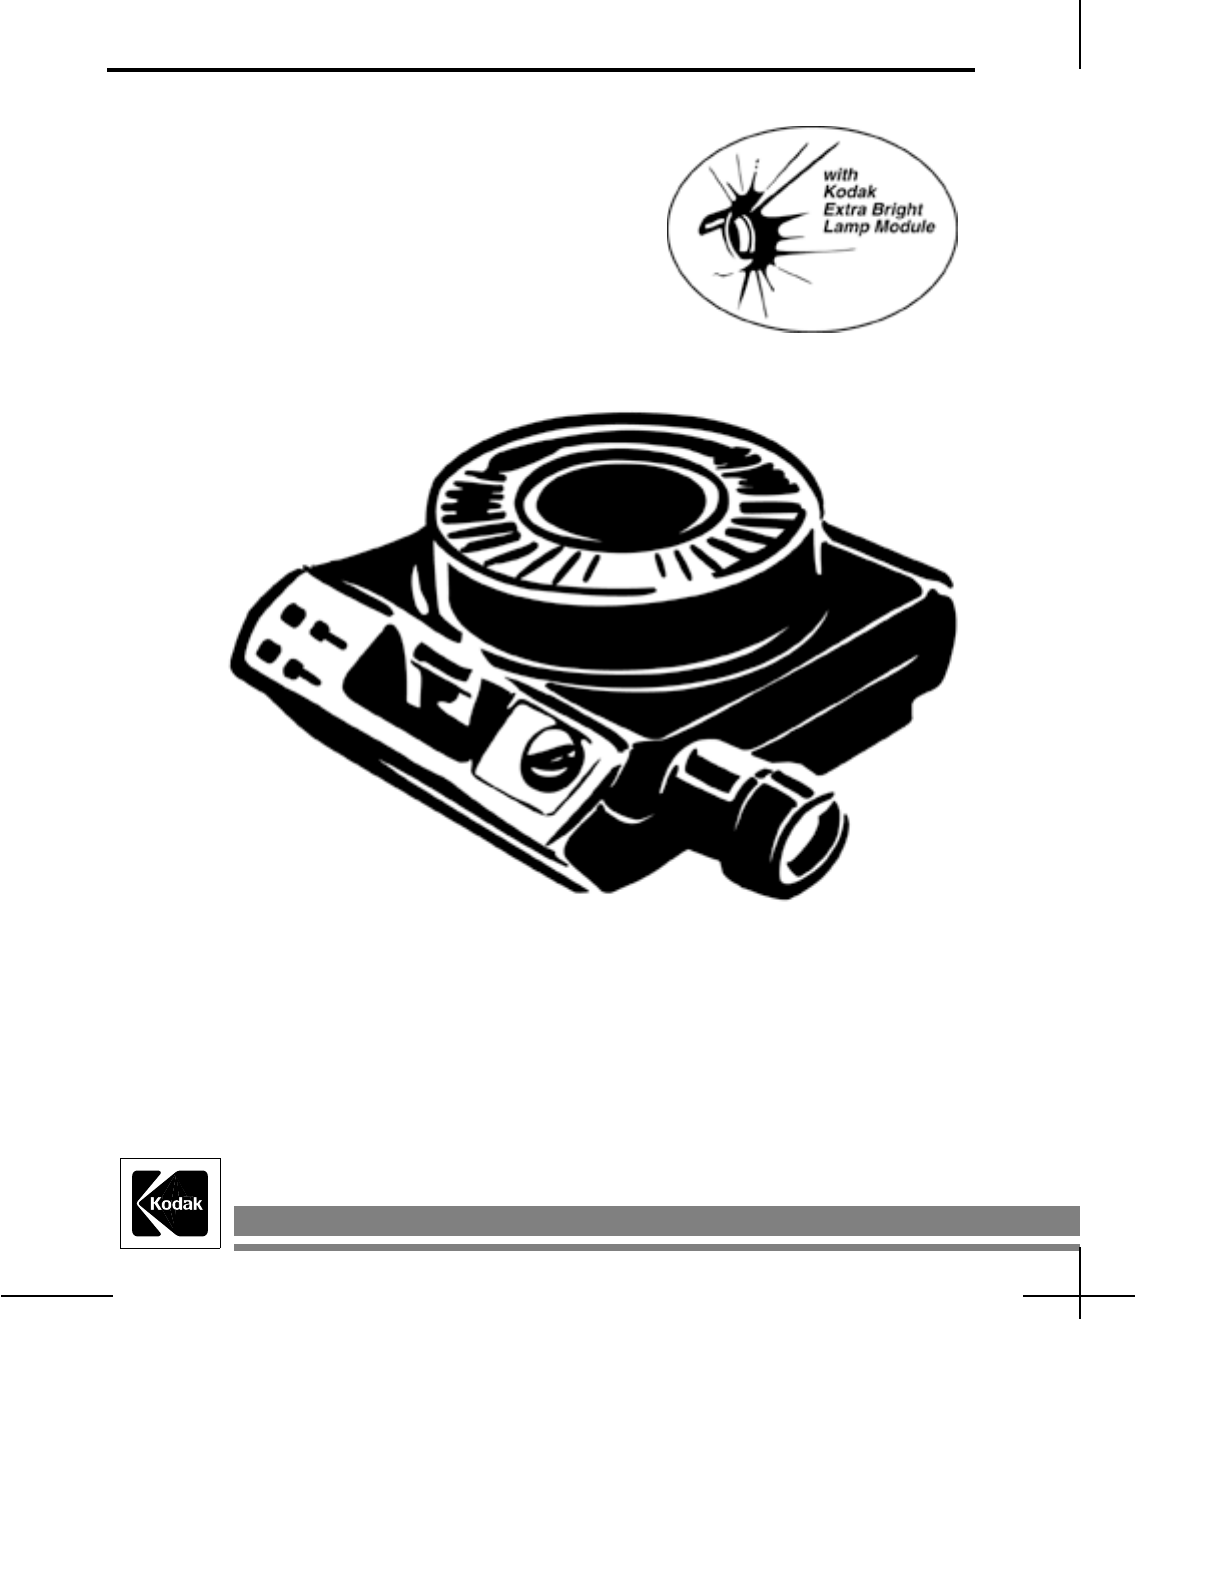
Congratulations!You have just purchased a KODAK EKTAGRAPHIC III Slide Projector witha KODAK Extra Bright Lamp Module.This new lamp module procides 30%
KODAK EKTAGRAPHIC III Slide Projector 1ContentsImportant Safety Instructions . . . . . . . . . . . . . . . . . . . . . . . . . . . . . . . . . . . .2
2 KODAK EKTAGRAPHIC III Slide ProjectorOverviewFRONT RIGHTBACK RIGHTBASE 1 – Tray 2 – Lock Ring 3 – Storage Compartment/Remote 4 – Elevating Foot
KODAK EKTAGRAPHIC III Slide Projector 3IntroductionTake the time to read the instructions in this operating manual to becomefamiliar with your KODAK E
4 KODAK EKTAGRAPHIC III Slide ProjectorOperationEKTAGRAPHIC III BR and ABR Slide Projectors have a sensing capabilityto automatically set the proper p
KODAK EKTAGRAPHIC III Slide Projector 5OperationModels A,AMT and ATSOpen the storage compartment and remove the remote control.Plug the 5-pin cable re
Related products and manuals for Projectors Kodak EKTAGRAPHIC III
 (7 pages)
(136 pages)
(45 pages)
(16 pages)
(40 pages)
(7 pages)
(136 pages)
(45 pages)
(16 pages)
(40 pages)


 (52 pages)
(26 pages)
(26 pages)
(1 pages)
(2 pages)
(135 pages)
(2 pages)
(54 pages)
(78 pages)
(18 pages)
(26 pages)
(44 pages)
(40 pages)
(38 pages)
(52 pages)
(26 pages)
(26 pages)
(1 pages)
(2 pages)
(135 pages)
(2 pages)
(54 pages)
(78 pages)
(18 pages)
(26 pages)
(44 pages)
(40 pages)
(38 pages)
© 2020, manymanuals.com. All rights reserved. | 0.040 s |
 Manymanuals.com
 Manymanuals.de
 Manymanuals.fr
 Manymanuals.it
 Manymanuals.pl
 Manymanuals.cz
 Manymanuals.es
 Manymanuals-pt.com
Comments to this Manuals